Saturday 8 May 2010


took a brake from the build today,and decided to have a saturday off to go to barbon hill climb. all sorts of nice cars there but unfortunately after a disaster in the practice session all championship classes were cancelled and almost half the field decided to leave and head for harewood hill tomorrow!
after some resurfacing work on the hill, a small section or tarmac was recently replaced and not as it should have been. there was a 10mm rise in the tarmac on the exit of a corner (one of the hard accellerating points) which ripped the sump plug off a mid engined single seater,spilling oil all over the hill. this in turn meant that no championship points could be had due to the owners of most cars refusing to compete at the risk of damaging their cars
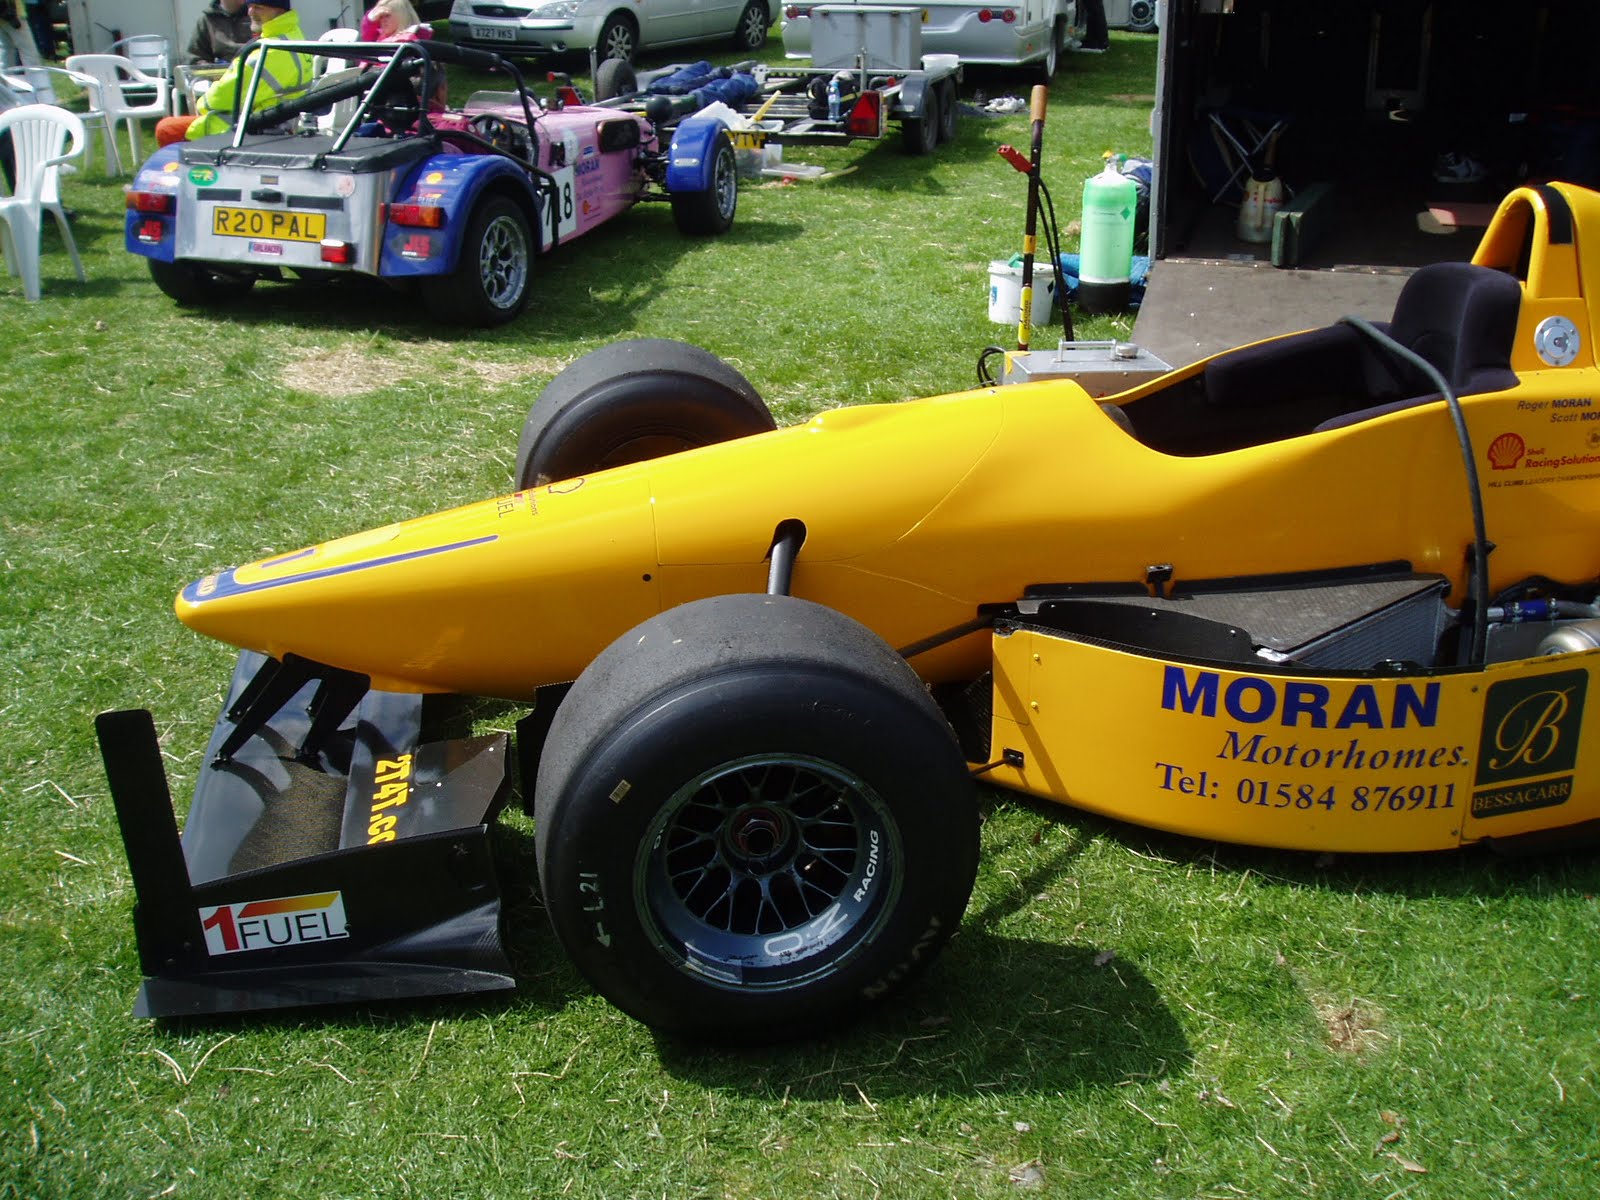
here is some pics of the cars which were competing!

Wednesday 5 May 2010

a night in the garage. build day 4


tonight was a major night in the build process for me.it was the first time i have ever installed an engine and i really enjoyed it. i managed to borrow an engine lift for the evening which made the process much much easier.i called upon my uncle to give me a hand and i must thank him also!
we first lifted the engine so it was a few inches higher than the upper chassis rail,then pushed the lift and engine forward a couple of foot until it was ready to lower into position. we then tilted the engine by pushing down on gearbox so it could be lowered and pushed back with gearbox going in the transmission tunnel until it reaches the rear gearbox mounts,and then the complete engine lowered into position and bolted onto its mounts.the gearbox was then bolted onto its 2 gearbox mounts and that was the night work done. a great night! and major milestone.

Monday 3 May 2010

build day 3 wishbones and front suspnsion


day 3 was fitting all 8 wishbones which first meant greasing all suspension bushes and fitting them into the wishbones.with the bushes in place,the bolts could be passed through the brackets,with a washer on each end and tightened up, using nyloc nuts!


once the wishbones are in place, the front shocks can be mounted. these need bolting through the suspension rockers with washers and side spacers and then bolting through lower suspension mounts,again with side spacers and washers. the rockers then needed mounting to their brackets with 2 small washers and a thrust bearing washer each side to allow for movement.

build day 2 ally pannels and fuel tank


the second day of my build was working with the ally pannels. these needed marking, cutting,and filing down to remove any sharp edges. once the pannels are a good fit the pannels need marking, centre punching, drilling and riveting to chasis rails!
once the passenger footwell pannel and scuttle cover pannel were fitted it was time to move on to fitting the fuel tank.2x sticky back foam strips were stuck down to the flat lower chassis rail where the tank sits and the fuel tank was sat in position. once in position a length of 2mm ally strip was bent around the tank at each side of the tank,and once bent a hole needed drilling through the ally and through the lower chassis rail. a peice of sticky back foam was then stuck to the inside of the 2mm ally brackets to make sure a good contact was made from brackets to tank. with the tank and brackets in place it was time to fix the brackets through the lower chassis rail with 4x nuts and bolts,making sure its a good tight fit.

build day 1. brake line routing


my first job was to remove the engine from my honda s2000 and all parts needed for the build. the rest of the parts are to be sold to help fund the build.

once the engine was out it was time to get the kit at a good working height and well supported. i used a pair of axle stands at the front and a home made wooden horse at the rear. with the car sturdy the first job was to route brake lines from master cylinders to brake line T- peices. 4 way to front and 3 way to rear. the route was then marked,drilled and then pipes were riveted along floor and chassis rails. then brake pipes from T-peices to each corner using the same method,marking,drilling and riveting. with these in place i could then bolt the T-peices to the chassis and connect the brake lines!

Saturday 1 May 2010


here is a few pics of my kit when i collected it from mnr on saturday 10/04/2010.its all of a very good quality and am very impressed with the finish and service which i recieved from mnr. fully powdercoated round tube chassis,wishbones and front and rear uprights. alloy front hubs, protech fully adjustable alloy shocks,drilled and grooved discs,alloy front calipers with hawk racing pads. and fully labelled nut and bolt packs

from the start


well here is my first kit car build. i have chosen to build an mnr vortx kit car with a 2003 honda s2000 f20c engine! i have had 2 bike engined kits in the past but wanted to build a car engined kit this time.