Tuesday, 5 October 2010
Monday, 30 August 2010
rear upright problems august 2010


am having some problems with my rear uprights and drive shafts so need to come up with a solution asap and modify one or the other. the abs ring dont slide through the hole but i knew this would be the case so thats not the real issue! the outer edge of the drive shaft is too large for the rear upright as you can see in the pictures!
once this was sorted the rear suspension was fitted to upright and upper mounts. looking quite nice now
Tuesday, 20 July 2010
fitting bodywork


am now on with fitting the bodywork and its not an easy task! i have got the main body tub in position and scuttle,bonnet and nosecone fit really nicely. i have also started to cut out holes for front suspension arms and steering rack. now that all the bodywork lines up i will fix it all in position and hopefully the car will be on the ground in the next couple of weeks!
Sunday, 13 June 2010
progress has been slow at the moment due to a lack of time in the garage and also thae fact that im ready for my main bodywork section in order to properly mount front suspension and get the car on the ground. my bodywork is a dark green RAL 6009 and i think it will look good alongside the yellow chassis! i collected my bodywork last week so i have no excuses not to move forward with the build now.
Saturday, 8 May 2010


took a brake from the build today,and decided to have a saturday off to go to barbon hill climb. all sorts of nice cars there but unfortunately after a disaster in the practice session all championship classes were cancelled and almost half the field decided to leave and head for harewood hill tomorrow!
after some resurfacing work on the hill, a small section or tarmac was recently replaced and not as it should have been. there was a 10mm rise in the tarmac on the exit of a corner (one of the hard accellerating points) which ripped the sump plug off a mid engined single seater,spilling oil all over the hill. this in turn meant that no championship points could be had due to the owners of most cars refusing to compete at the risk of damaging their cars
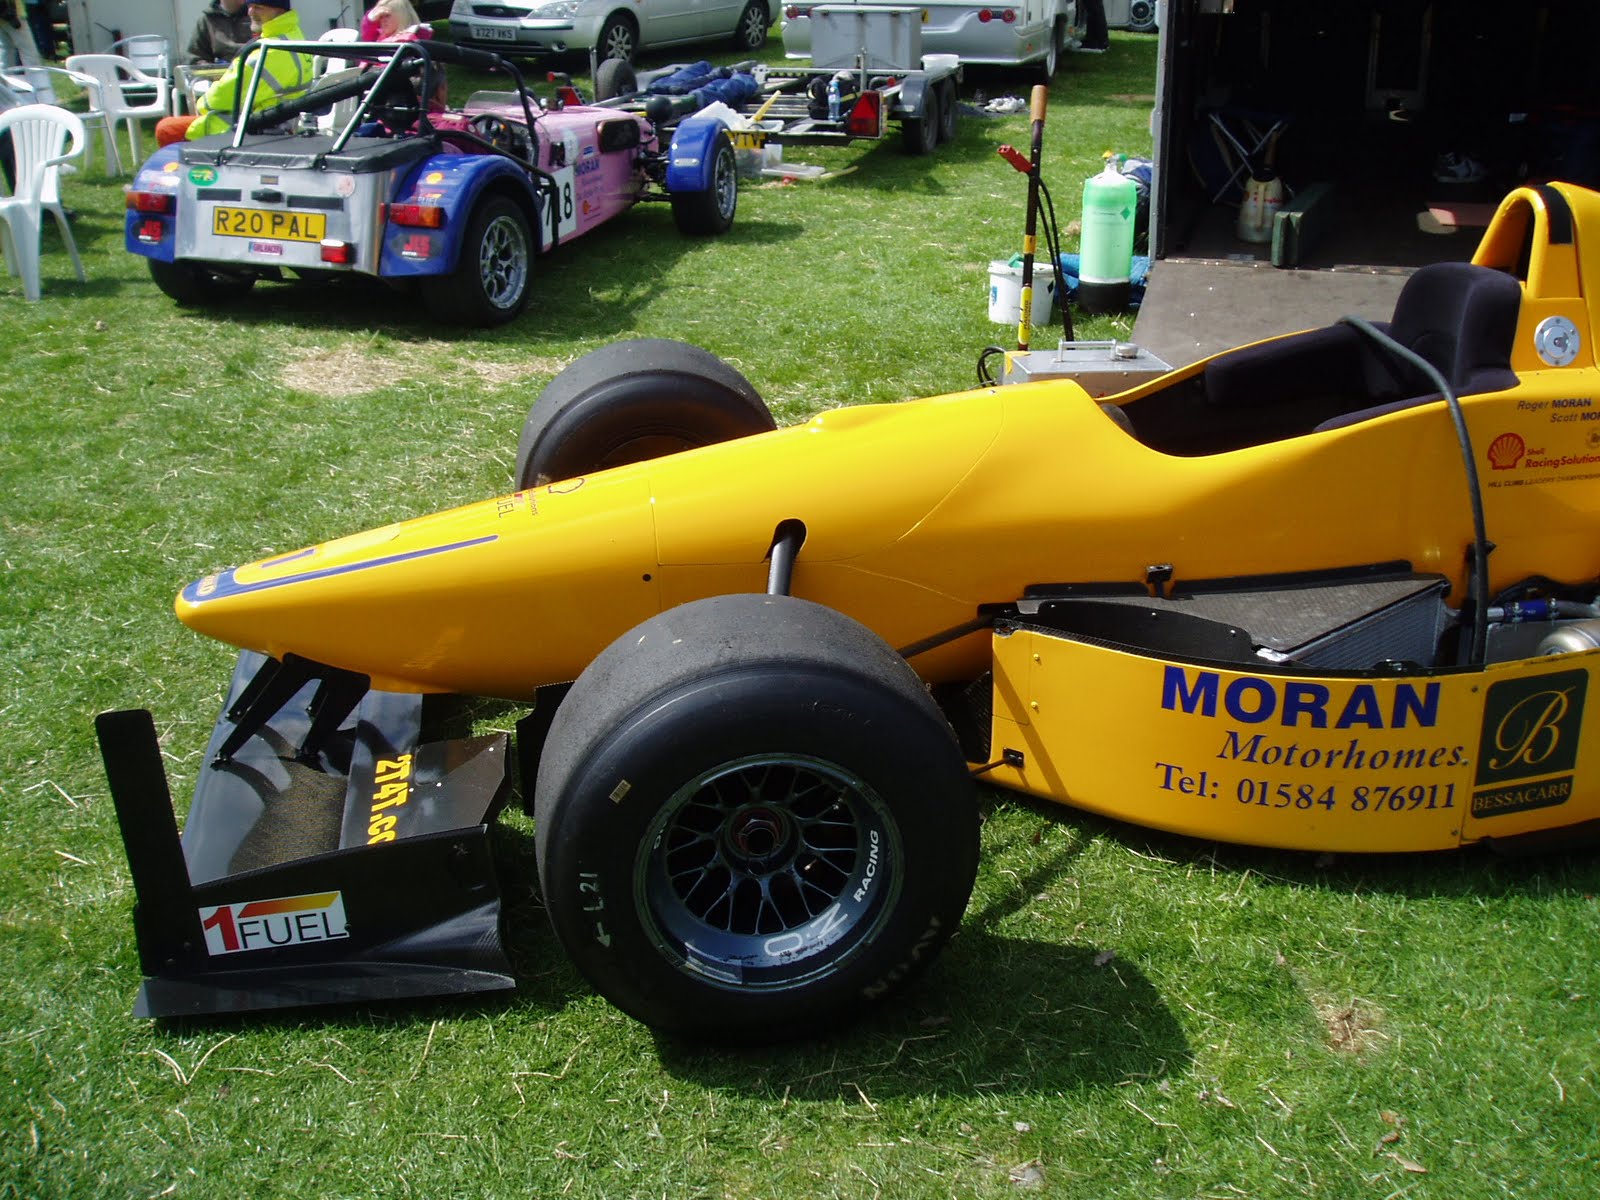
here is some pics of the cars which were competing!
Wednesday, 5 May 2010
a night in the garage. build day 4


tonight was a major night in the build process for me.it was the first time i have ever installed an engine and i really enjoyed it. i managed to borrow an engine lift for the evening which made the process much much easier.i called upon my uncle to give me a hand and i must thank him also!
we first lifted the engine so it was a few inches higher than the upper chassis rail,then pushed the lift and engine forward a couple of foot until it was ready to lower into position. we then tilted the engine by pushing down on gearbox so it could be lowered and pushed back with gearbox going in the transmission tunnel until it reaches the rear gearbox mounts,and then the complete engine lowered into position and bolted onto its mounts.the gearbox was then bolted onto its 2 gearbox mounts and that was the night work done. a great night! and major milestone.
Monday, 3 May 2010
build day 3 wishbones and front suspnsion


day 3 was fitting all 8 wishbones which first meant greasing all suspension bushes and fitting them into the wishbones.with the bushes in place,the bolts could be passed through the brackets,with a washer on each end and tightened up, using nyloc nuts!
once the wishbones are in place, the front shocks can be mounted. these need bolting through the suspension rockers with washers and side spacers and then bolting through lower suspension mounts,again with side spacers and washers. the rockers then needed mounting to their brackets with 2 small washers and a thrust bearing washer each side to allow for movement.
Subscribe to:
Posts (Atom)